You know that feeling when you’re staring at your blog dashboard, wondering what to post next? Yeah, we’ve all been there. The blank screen, the cursor blinking mockingly, and that nagging voice asking, “Didn’t I just post about this last week?”
The reality is that even the most creative bloggers need a system in place. And a content calendar provides you with just that. A detailed plan that eliminates uncertainty from your content strategy.
Let me walk you through how to design a blog content calendar that’s functional and beautiful enough that you’ll want to use it every single day.
What is a Blog Content Calendar?
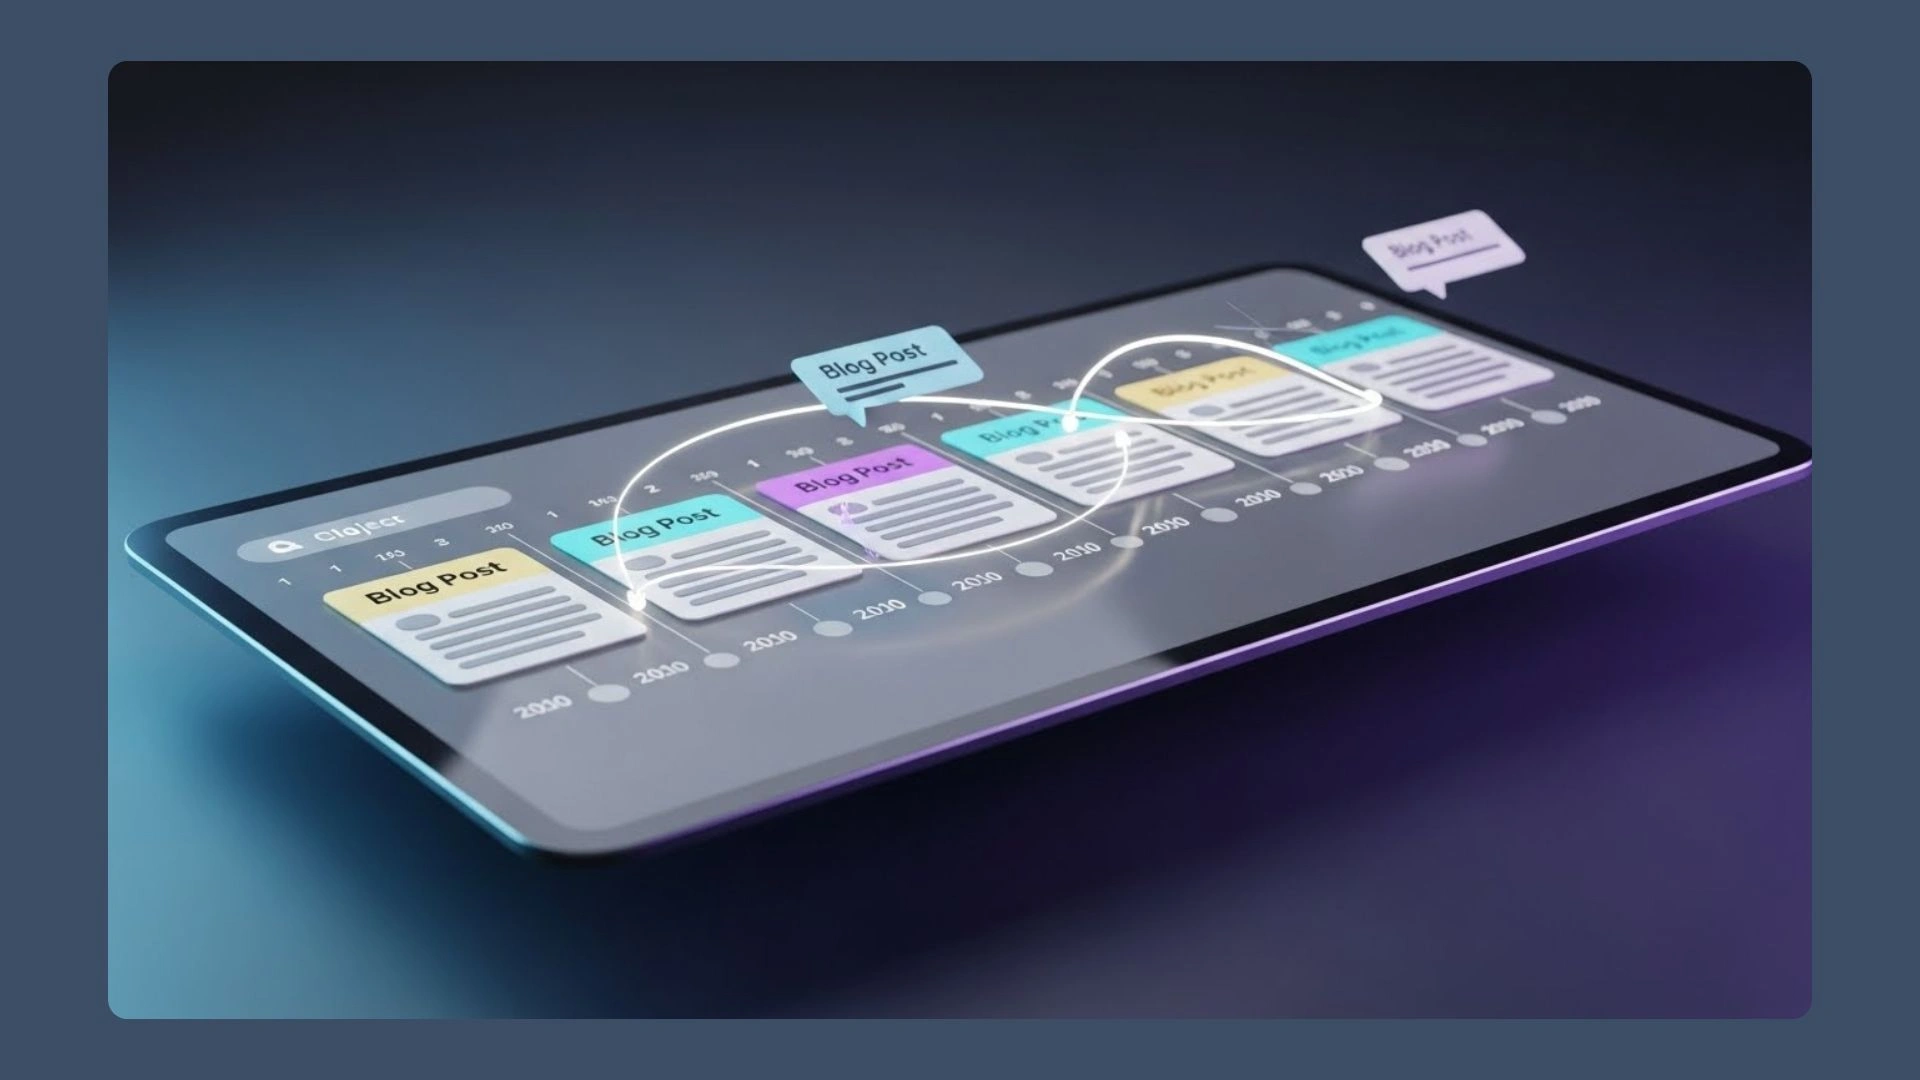
A content calendar a visual schedule that maps out what you’re publishing, when you’re publishing it, and all the nitty-gritty details in between. They include things like keywords, categories, and who’s responsible for each piece.
But here’s what makes it different from just scribbling dates on a random notepad: a proper content calendar keeps everything centralized. Your ideas, deadlines, publication dates, and content status all live in one place. No more sticky notes falling off your monitor or brilliant blog post ideas lost in the depths of your phone’s notes app.
The consistency factor alone makes it worth the setup time. When you can see your entire content pipeline at a glance, staying on track becomes second nature rather than a constant struggle.
Why You Need a Beautifully Designed Content Calendar
Now, I know what you’re thinking: “Does it really matter if my calendar looks pretty?”
Actually, yes. And here’s why.
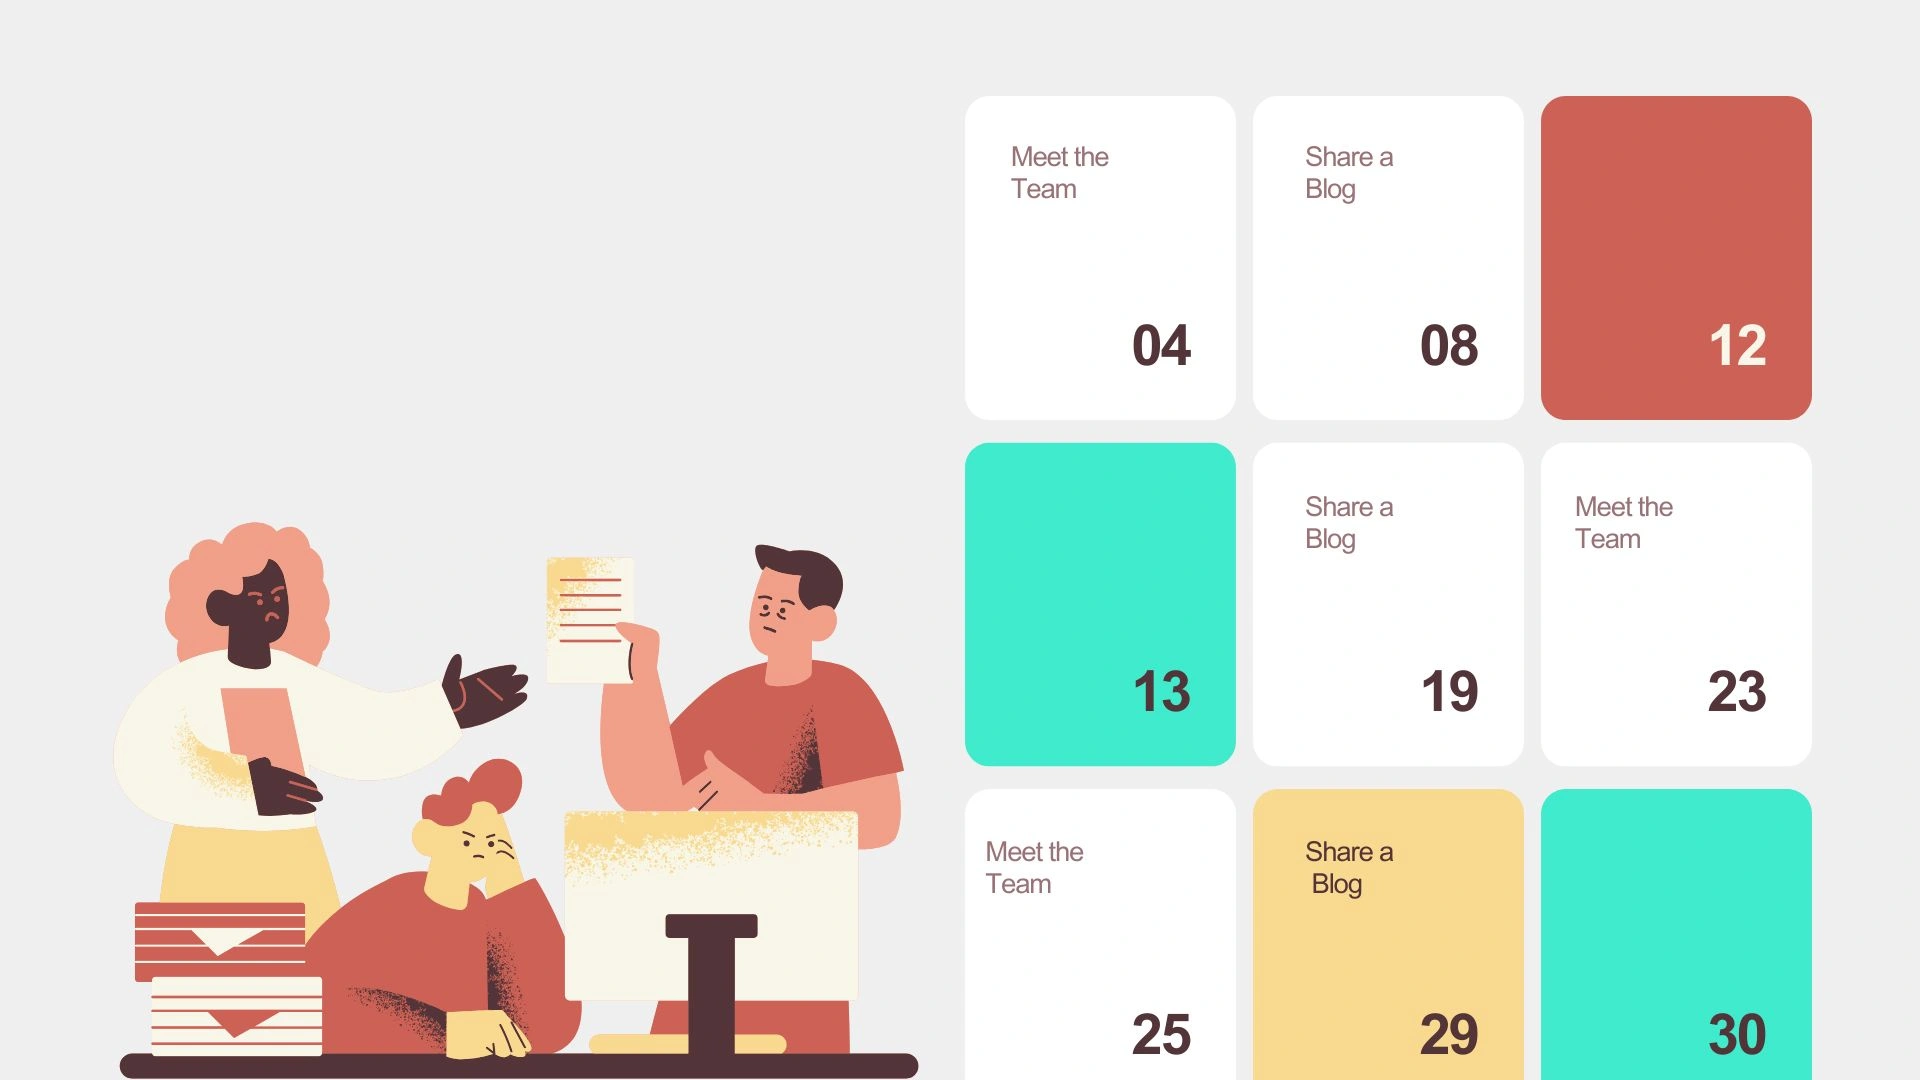
When your content calendar is visually appealing, you’re more likely to open it. Sounds simple, but it’s true. We’re naturally drawn to things that look good. It’s just human nature. A cluttered, confusing calendar? That’s something you’ll avoid until deadlines are breathing down your neck.
A thoughtfully designed calendar does more than just look nice on your screen. The right color coding helps you spot patterns instantly. You may notice you’ve been light on how-to guides lately, or that Tuesdays have become your go-to publish day without you even realizing it.
Steps to Designing a Blog Content Calendar
When your workflow feels smooth, your content creation process flows more efficiently. Here’s how you can get started.
Step 1: Define Your Goals
Before you start dragging and dropping colors around, take a moment to clarify what you’re trying to achieve. Are you working to drive more traffic? Build an email list? Position yourself as an industry expert?
Your goals shape everything else. If you’re focused on engagement, consider planning more interactive posts and series that keep readers coming back. If traffic is the priority, learning how to design blog content calendar strategies around it becomes essential, with keyword research built right in.
Write down your top three content goals and keep them visible somewhere. They’ll help you make decisions when planning next month’s topics or determining whether a random idea aligns with your strategy.
Tools like Adobe’s calendar creation features can help you start with a structured template that you can customize based on these goals.
Step 2: Choose a Platform/Tool
It’s at this point where people tend to overthink things. The truth? The best content calendar is the one you’ll actually use.
Google Sheets works well if you prefer simplicity and want something you can access from anywhere. Trello’s card system is ideal for visual thinkers who enjoy rearranging elements. Asana shines when you’re working with a team and need to assign tasks.
I’ve seen successful bloggers using everything from Notion to plain old Excel. When you design blog content calendar systems, the platform matters less than your commitment to using it consistently.
Step 3: Plan Content Themes & Categories
Make sure that the categories you use for your blog’s material are obvious and match the objective of your site. You might have:
- Educational material that shows you know what you’re talking about
Quick recommendations for readers who desire quick advise that they can use - Case studies that show what happened
Content that changes with the seasons and is related to holidays or events in the business
Personal stories that make a connection with your audience
The key is variety within consistency. Your readers want to know what to expect from you, but they also want to stay interested. Categories help you maintain that balance. Staying on-brand while keeping things fresh.
Color-code each category in your calendar. Seriously, this one trick makes everything clearer at a glance when you design blog content calendar layouts with visual organization in mind.
Step 4: Add a Timeline
Deadlines get a bad rap, but they’re your friend. Without them, that “I’ll write it when inspiration strikes” approach means you’re scrambling at the last minute.
Work backwards from your publish date. If you’re posting every Tuesday, block out time for:
- Initial research and outlining (maybe the Wednesday before)
- First draft (Thursday-Friday)
- Editing and revisions (Monday)
- Final review and scheduling (Tuesday morning)
Be realistic about how long things take you. We all want to believe we can knock out a 2,000-word post in an hour, but if that’s never happened before, it’s not going to start now.
Build in buffer time too. Life happens, clients call, kids get sick, inspiration doesn’t always show up on schedule.
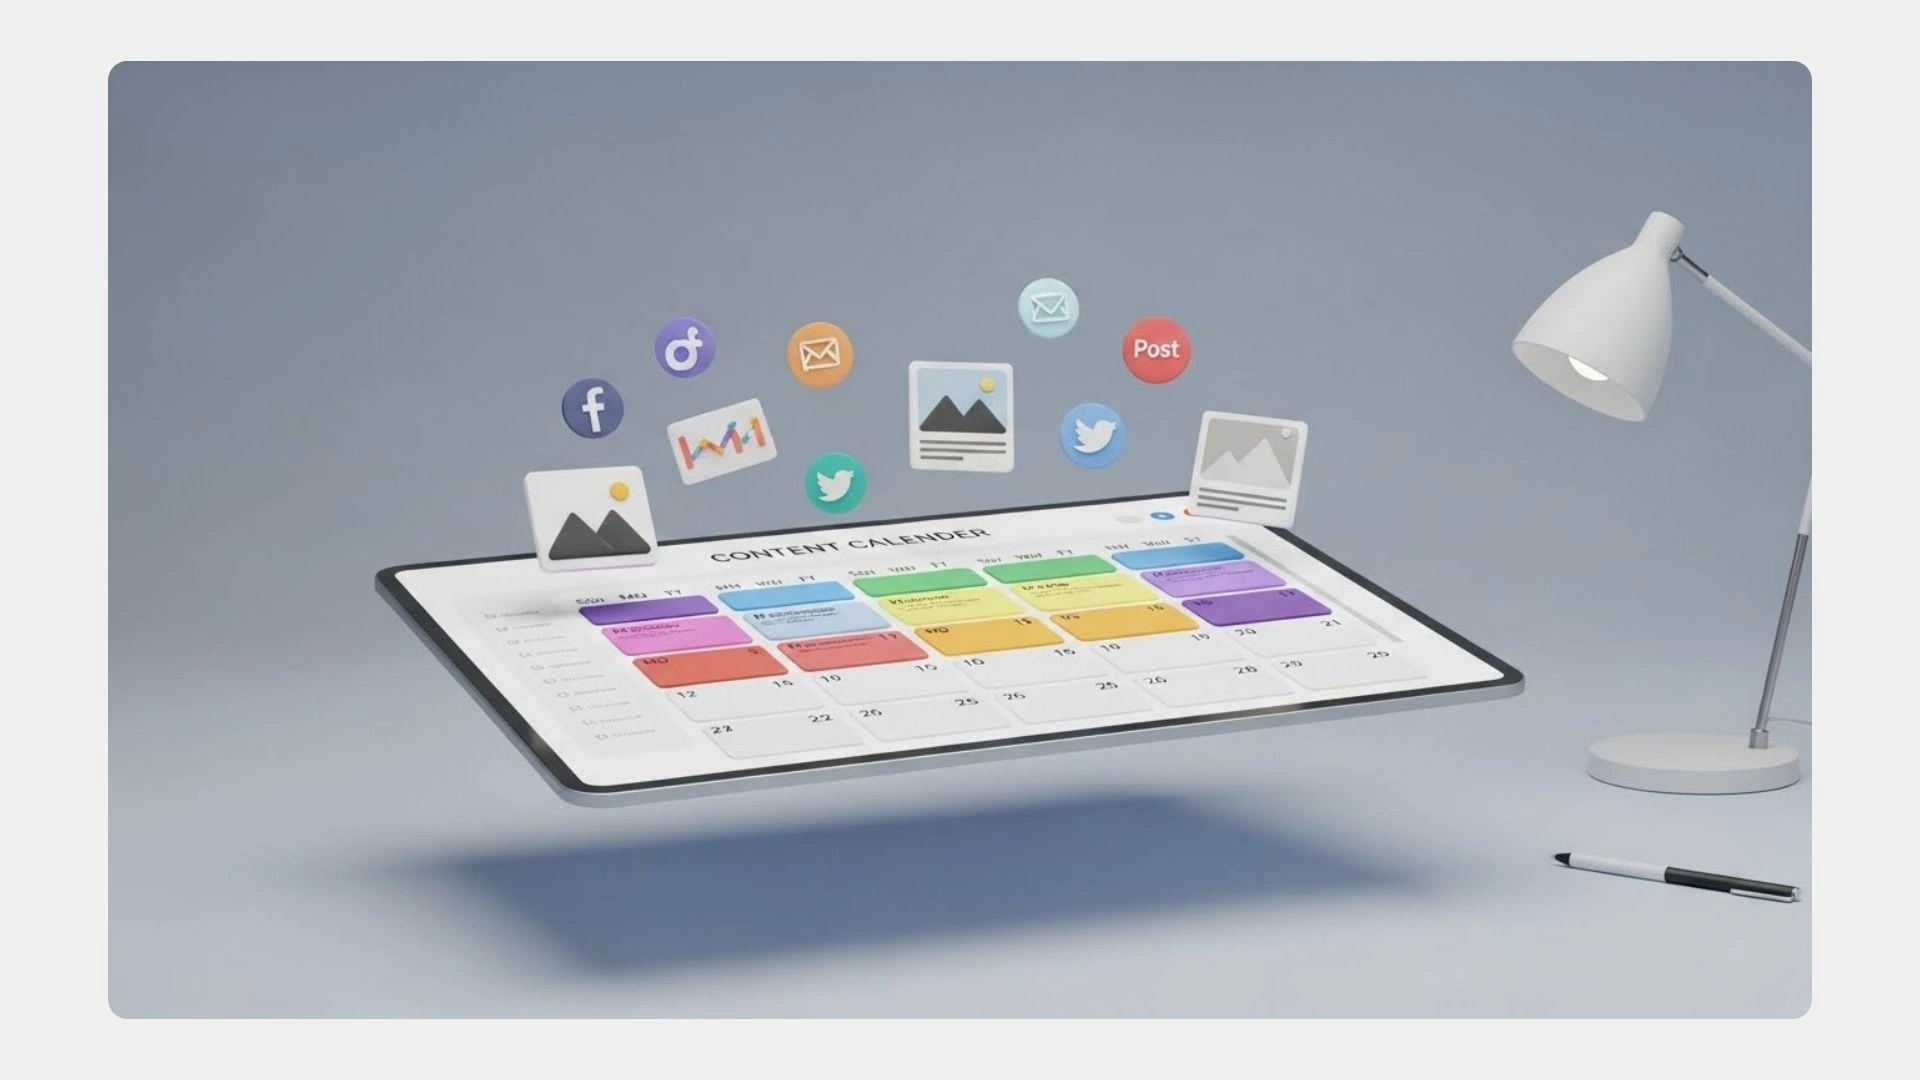
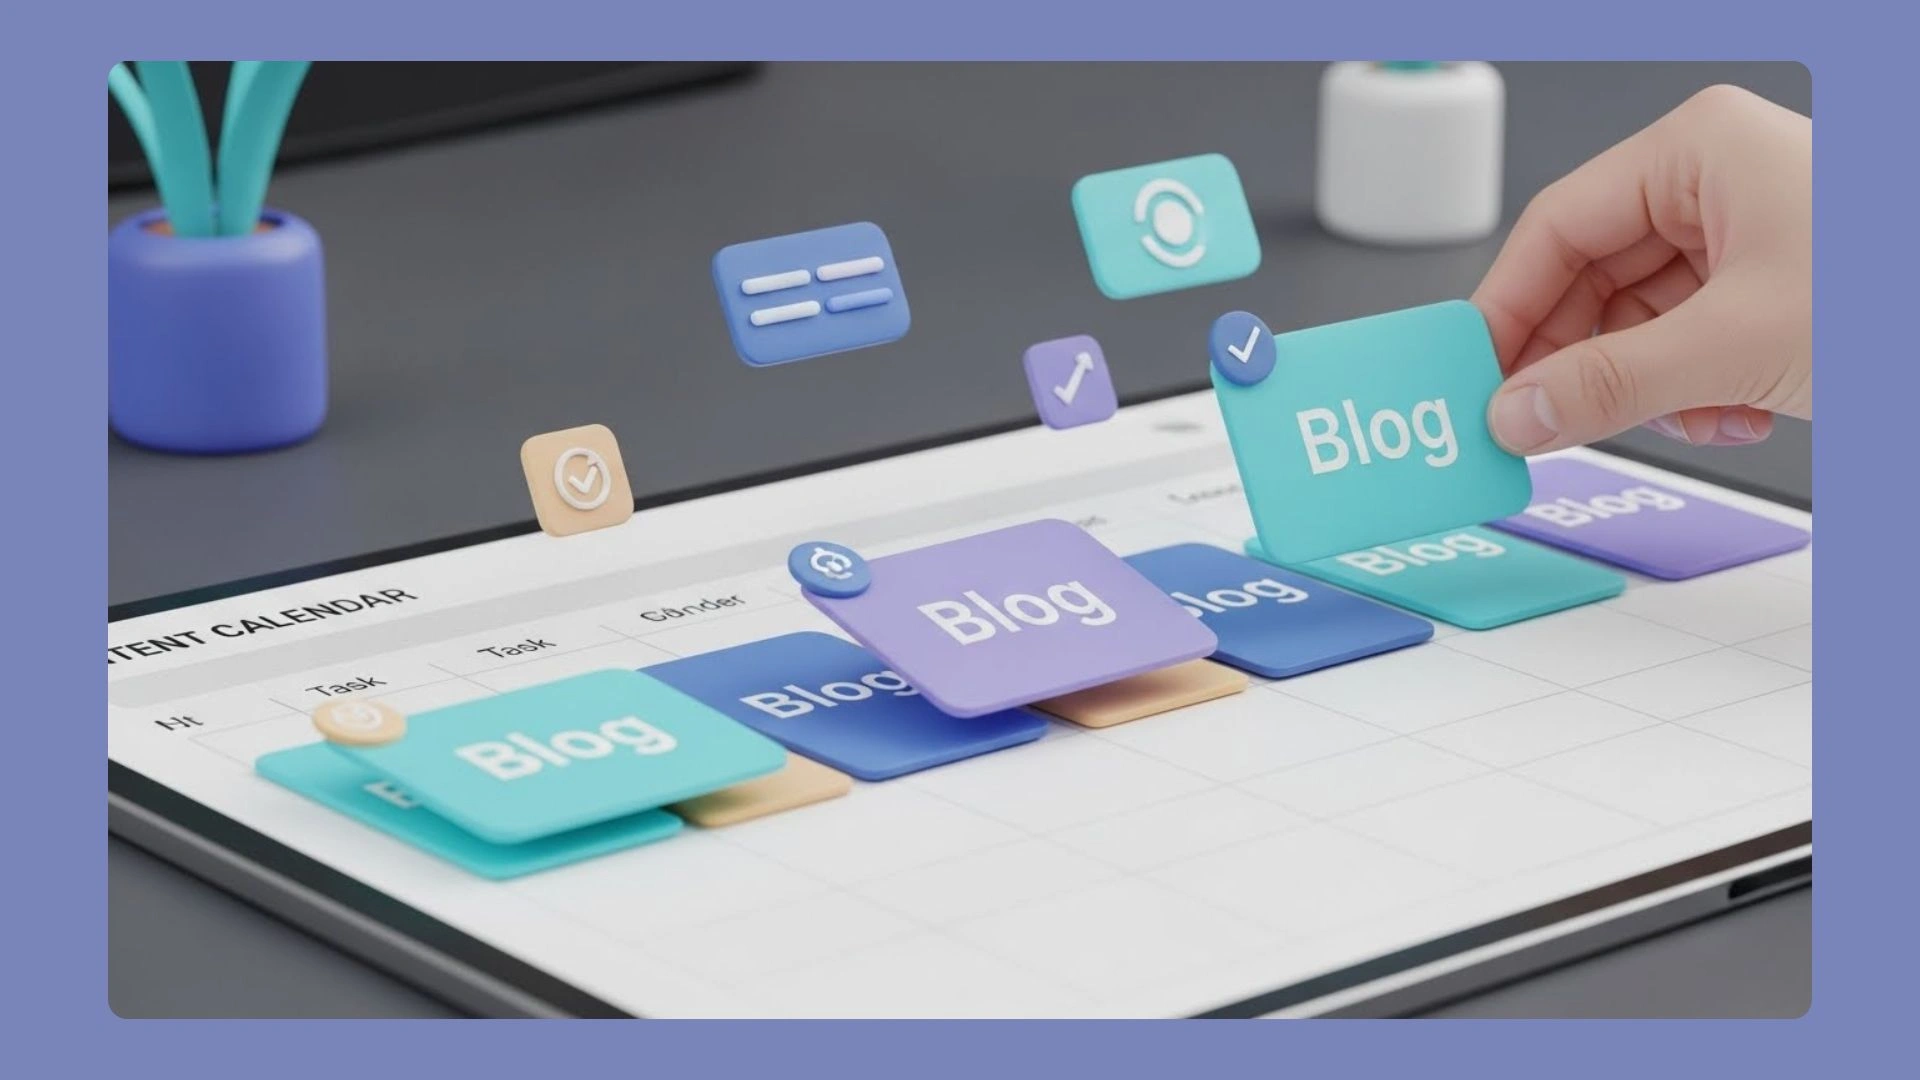
Step 5: Make It Visual
The visual aspect is important when you design blog content calendar systems that you’ll open every day.
Use colors strategically. Blog posts are blue, social media promotions are green, and email newsletters are purple. Or code by status: ideas are yellow, in progress is orange, completed is green.
Add visual indicators for priority items. A simple star or flag for must-publish content helps it stand out when you’re scanning your week.
Consider including thumbnail images or icons for each post topic to enhance visual appeal. Visual cues help your brain process information faster than text alone. When you’re looking at next month’s lineup, those little visuals instantly remind you what each piece is about.
Step 6: Review & Update Regularly
A content calendar isn’t a “set it and forget it” situation. Set a weekly review time. Review upcoming events, adjust deadlines as needed, and adjust schedules accordingly based on current events or audience feedback.
Monthly reviews are crucial too. Take a step back and look at the bigger picture. What types of content performed well? What fell flat? Are there gaps in your coverage? Use these insights to plan the next month smarter and refine how you design blog content calendar updates going forward.
Don’t be afraid to rearrange things. If a timely topic comes up, your calendar should be flexible enough to accommodate it. That pre-planned post about productivity hacks can wait if there’s breaking news in your industry that your audience needs to hear about.
If you manage multiple content creators, consider hiring virtual assistants who specialize in content management. Sometimes the best calendar in the world still needs someone to keep it running smoothly.
Conclusion
Creating a content calendar takes some upfront effort. But here’s what I’ve learned after years of blogging: that investment pays itself back every single week.
Start simple. You don’t need to plan six months out on day one. Map out the next four weeks, see how it feels, adjust what isn’t working, and build from there.
The process of designing blog content calendar systems gets easier with practice, and you’ll develop your own shortcuts and preferences along the way.
Once you’ve got a system that works for you, content creation stops feeling like chaos and starts feeling like progress. And that might be the best result of all. The nandbox App Builder lets content creators and marketing teams make their own planning and workflow apps without having to write any code. This is in the context of “How to Design a Beautiful Visual Blog Content Calendar.” Nandbox’s no-code drag-and-drop features make it easy to create attractively structured calendars, keep track of publishing schedules, give out tasks, and work together in real time. Its scalable and secure architecture makes it easy for teams to work together on content, and its customizable features let organizations set up their processes to meet their individual editorial needs. Businesses may make preparing content a smooth, visually appealing, and very effective process by using nandbox.